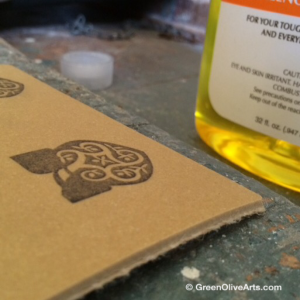
Here’s a little peek into the first steps in making our new Green Olive Arts embossed leather bookmarks, which we are designing and then having local Moroccan artisans create for us. Be sure to check back in for future posts about the rest of the process. And if you would like one of these custom bookmarks when they’re finished, check out our crowdfunding campaign for expanding our studio – we’re giving bookmarks to people who contribute to the project, and there’s still time to participate!
For the initial step of creating the bookmarks, I used Citra Solv to transfer our logo onto the lino block that we will carve it from, so that a mold for a custom bronze die can be cast of it and used to emboss the leather.
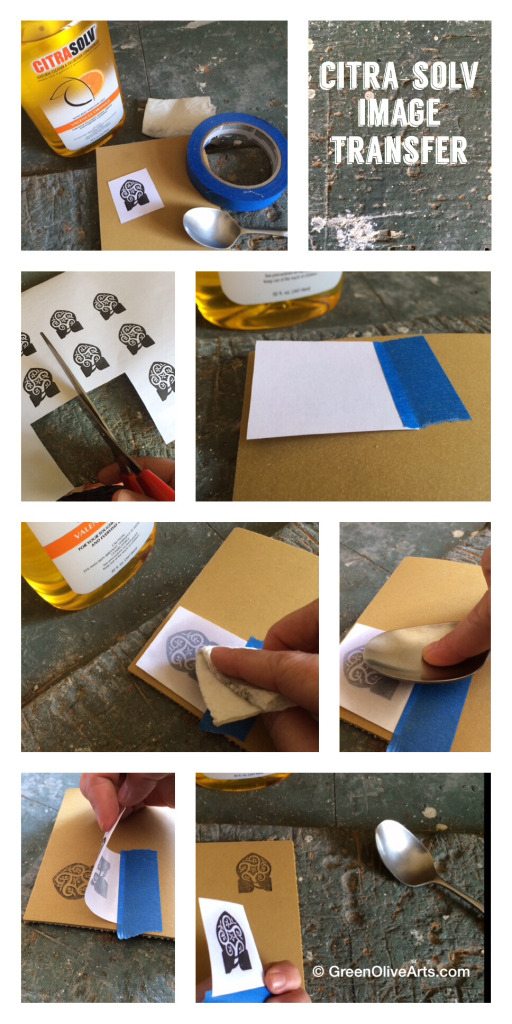
CITRA SOLV is an excellent, non-toxic solvent to use for transferring images onto wood, painted surfaces, fabric, linoleum printing blocks and collages, so here’s a step-by-step tutorial for this simple process.
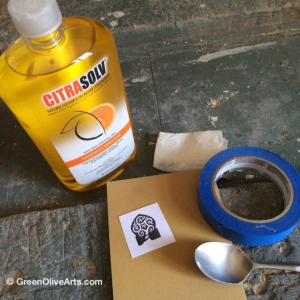
What you’ll need:
1. Citra Solv. Their great website has product info, art helps, and links to retailers who sell it.
2. Toner copy of the image you want to transfer.
3. Surface to transfer onto (wood, painted surface, fabric, linoleum printing blocks, collages, etc.)
4. Tape to hold the image in position while transferring.
5. Paper towel for applying solvent.
6. Spoon for burnishing.
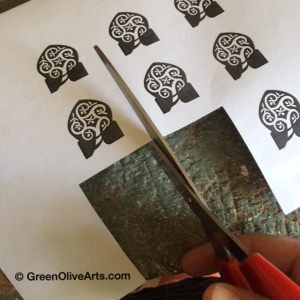
Step 1: Make a toner copy of the image you want to transfer.
Inkjet ink will not work. Use a laser printer or a photocopier, and print several to use for testing first, because not all toner works. Usually photocopies are best, but the one I had made (on the copy machine at the little teleboutique across the street from the GOA studio) smeared and bled when I applied the Citra Solv. So I ended up using our Canon LBP6000 Laser desktop printer and it worked great.
Make sure you flip the image horizontally before you print it, so that when it transfers, it will appear correctly and won’t be reversed.
Cut the image out, with enough margin around it for taping onto your surface.
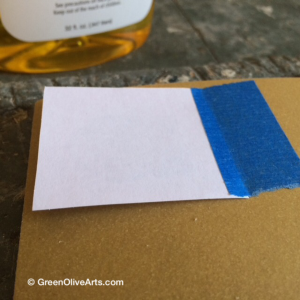
Step 2: Tape the image face down onto your surface.
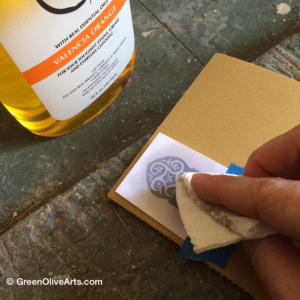
Step 3: Rub Citra Solv onto the back of the paper using a paper towel.
Make sure the paper towel is not too wet with the solvent, and rub quickly – just enough until the paper becomes transparent and the image shows through.
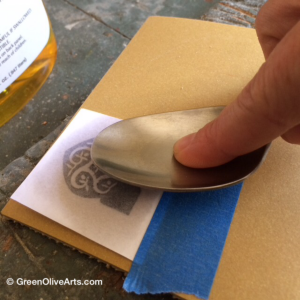
Step 4: Use the back of a spoon to burnish the image.
Press firmly, using a circular motion and making sure to burnish the whole area of the image. Stabilize the paper with your other hand so it doesn’t shift.
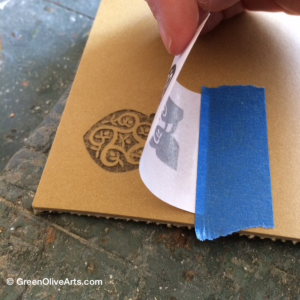
Step 5: Lift the paper to check that the image is fully transferred.
The tape keeps it in place while you lift. If you see any areas that aren’t crisp and clear, lay the paper down and burnish those specific areas again, until you have the whole image nicely transferred.
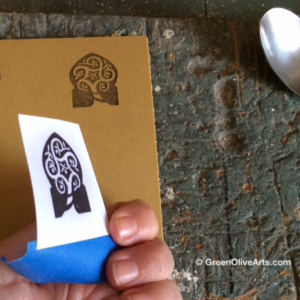
Step 6: Remove the paper and there it is! Image transferred!
I transferred my image onto Golden-Cut Linoleum (which I love for printmaking, and which, for this application, will be used to make the mold for our brass leather embossing die) – but you can transfer onto almost any smooth surface. The possibilities are endless!
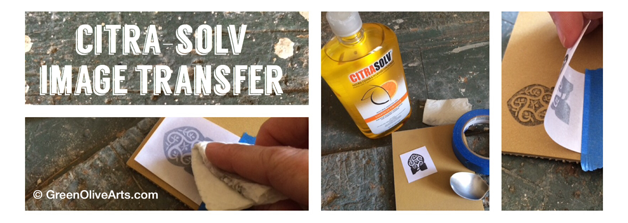
Here are all the images of the steps, together in one collage.
Happy Transferring!

