If you are setting up an exhibition space on a budget, you are going to like the solution we came up with for our gallery hanging system. This post will help you literally get behind the artworks to a see a simple but sturdy hanging system, DIY style.
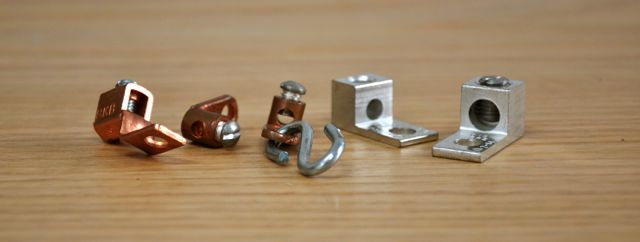
There are high quality hanging systems out there that allow you to adjust the height of a painting with the push of a button. You get what you pay for and we at Green Olive Arts knew we couldn’t pay for such a system. So as I scoured the web for ideas, I stumbled upon someone’s idea* to use electrical ground lugs as the tiny adjustable mechanism behind the painting. A trip to Home Depot while we were in the states netted a variety of these lugs (avg. $1.50/ea) and we were on our way.
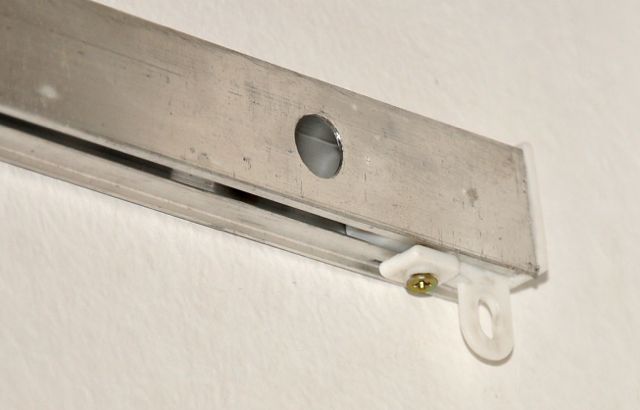
The hanging channel is made from aluminum curtain channel available at the local hardware store for less than $4/meter. First drill 1/4″ holes all the way through the face and back of the channel at 30″ intervals (preferably with a drill press). Then drill 1/2″ holes through the face only using the 1/4″ holes as pilots … this will allow you to insert and tighten pan-head screws as you anchor the channel to the wall. A small metal file or some sandpaper will help to tidy up the holes where aluminum burrs stick out. #10 Plastic wall anchors were used in our brick and plaster walls to mount the channels 8-9′ from the floor.
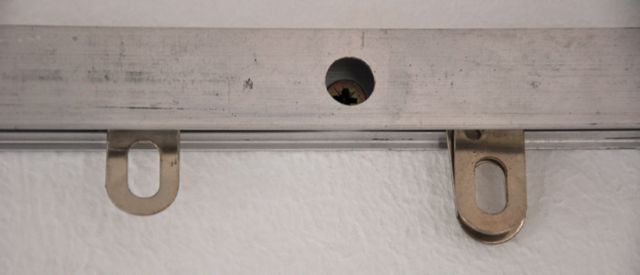
These curtain channels come with plastic sliders, which we use for most artworks … but for heavier pieces I fashioned some metal sliders by bending some stainless cabinet mounts. Below you can see two different sliders in the wall-mounted channel.
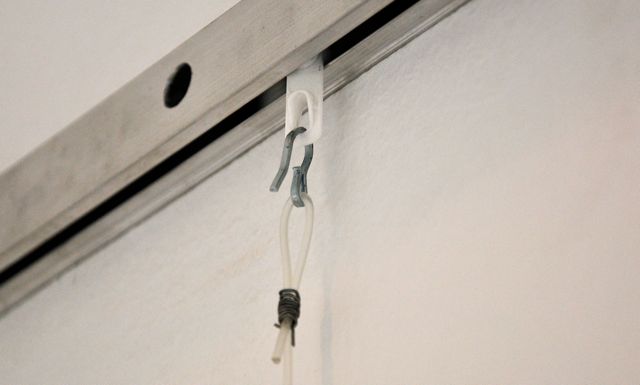
Next, you need a strong but unobtrusive cable to hang from these slides and which you will feed through the hanger lugs. I tried some strong white string, but the lugs slide down them under weight, even when tightened well. For most artworks, a heavy-weight fishing line works well and is nearly invisible against the walls. To make these hanger lines, I bent the end of a 60″ piece of line back on itself and coiled a thin piece of wire tightly around the end to form a loop. I crimped this wire with pliers as well.
The aluminum channel comes with end caps that have a built-in eye for hanging at the very end of the channel if you need it. This also keeps the slides from falling out.
For heavier works, you will want to have some steel cable hanger lines. For this you can purchase plastic coated (or uncoated) steel fishing leader (at varying strengths/thicknesses) in rolls and cut the lengths you need. I bought some 100-pound test stuff that actually came with tiny steel ferrules or tubes that you crimp with pliers to create a loop at the end. The steel cable shows a bit more on the wall but is still quite unobtrusive.
Below you can see all the parts and tools together, ready to hang some artwork!
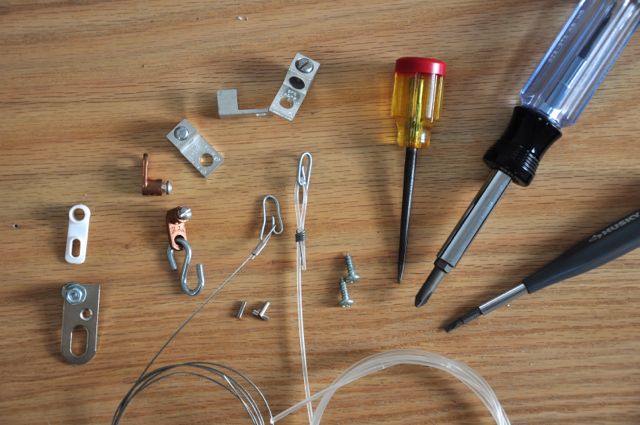
hanger lugs, plastic and steel sliders, steel and nylon hanger lines, extra ferrules, mounting screws, punch awl, philips screwdriver and mini straight driver (and tape measure not pictured)
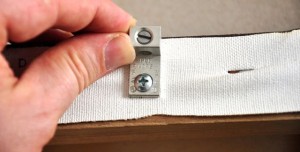
To fasten a painting to the hanger lines or cables, you now have basically two options. You can attach to the picture wire already mounted across the back of an artwork or you can actually mount the hanger lug directly to the artwork itself. I prefer to mount the lug to the artwork because it allows the art to hang closer to the wall … closer to vertical or flat. Here’s how I mount the hanger lugs to the back of an artwork.
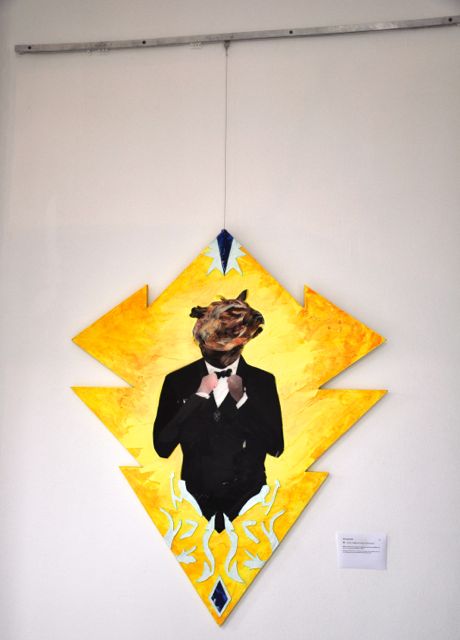
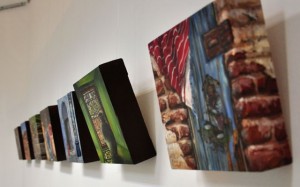
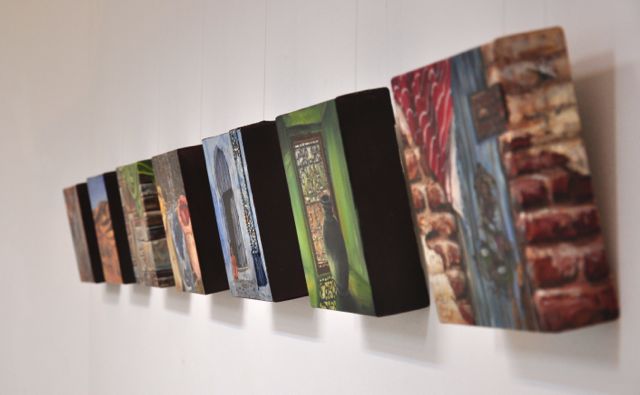
When you utilize the picture wire, as you well know, the painting tilts out from the wall. In some cases this may be preferable … but when your lighting is aimed from a high angle, this can be problematic. See the comparison in the image below … the more upright pieces are hung with the lugs mounted directly to the paintings.
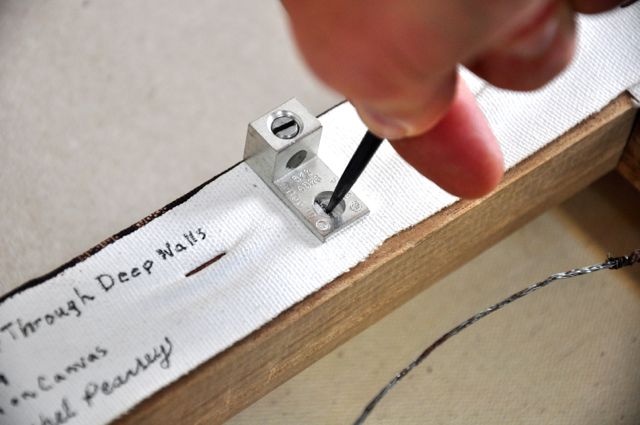
Set the lug in place so the top of it is flush with the top edge of the painting and punch the screw hole with an awl
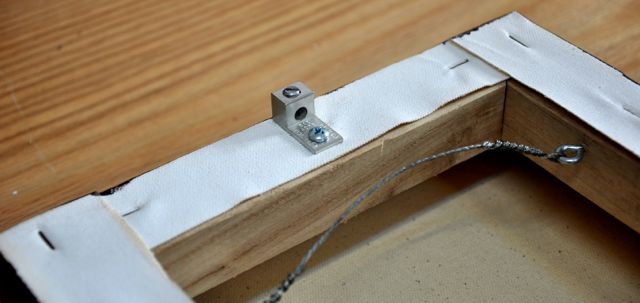 Tighten the screw so that you can barely turn or move the lug side-to-side with your bare fingers … This will allow you to adjust the levelness of the painting ever so slightly when it is hanging in place.
To hang the painting, feed the cable of your choice (already hanging from the channel) through the hanger lug’s hole, slide it to the desired height and tighten the set screw firmly to the cable. Nudge the lug left or right to adjust how level the painting hangs.
Come for an art residency at Green Olive Arts and you can hang a whole new series of YOUR paintings on this system for an exhibition in Tetouan, Morocco! Talk about DIY!
Happy hanging!
* the original post from which this idea grew was this one on our friend Lori McNee’s Fine Art Tips blog
Stay tuned for an update, too, in which we’ll show you the aesthetic solution to hiding those ugly aluminum channels!



This is such a helpful post, thank you!
I need to hang lots of large empty cardboard boxes from the ceiling above an audience and have been thinking about using heavy fishing line. How thick is the one you used, and do you think it would be safe to use on empty boxes?
Can you hang multiple paintings on a single cable?
Yes you can if they aren’t too heavy, but just make sure all the pieces of your system can handle the weight. Unless the pieces are small you are probably better off giving each one it’s own cable.
Have you created the pleasing way to cover the aluminum channel used in the dyi art gallery hanging system? That is the last step I need to finish my project. I am interested in your solution.
Thanks, Andy
Hey Andy,
We haven’t yet created that but our plan is to hinge or velcro a strip of white painted wood over the aluminium channels, so that we can cover it and still be able have access to it. We will be sure to add some pics and description when we do.
We’d love to see your system too!